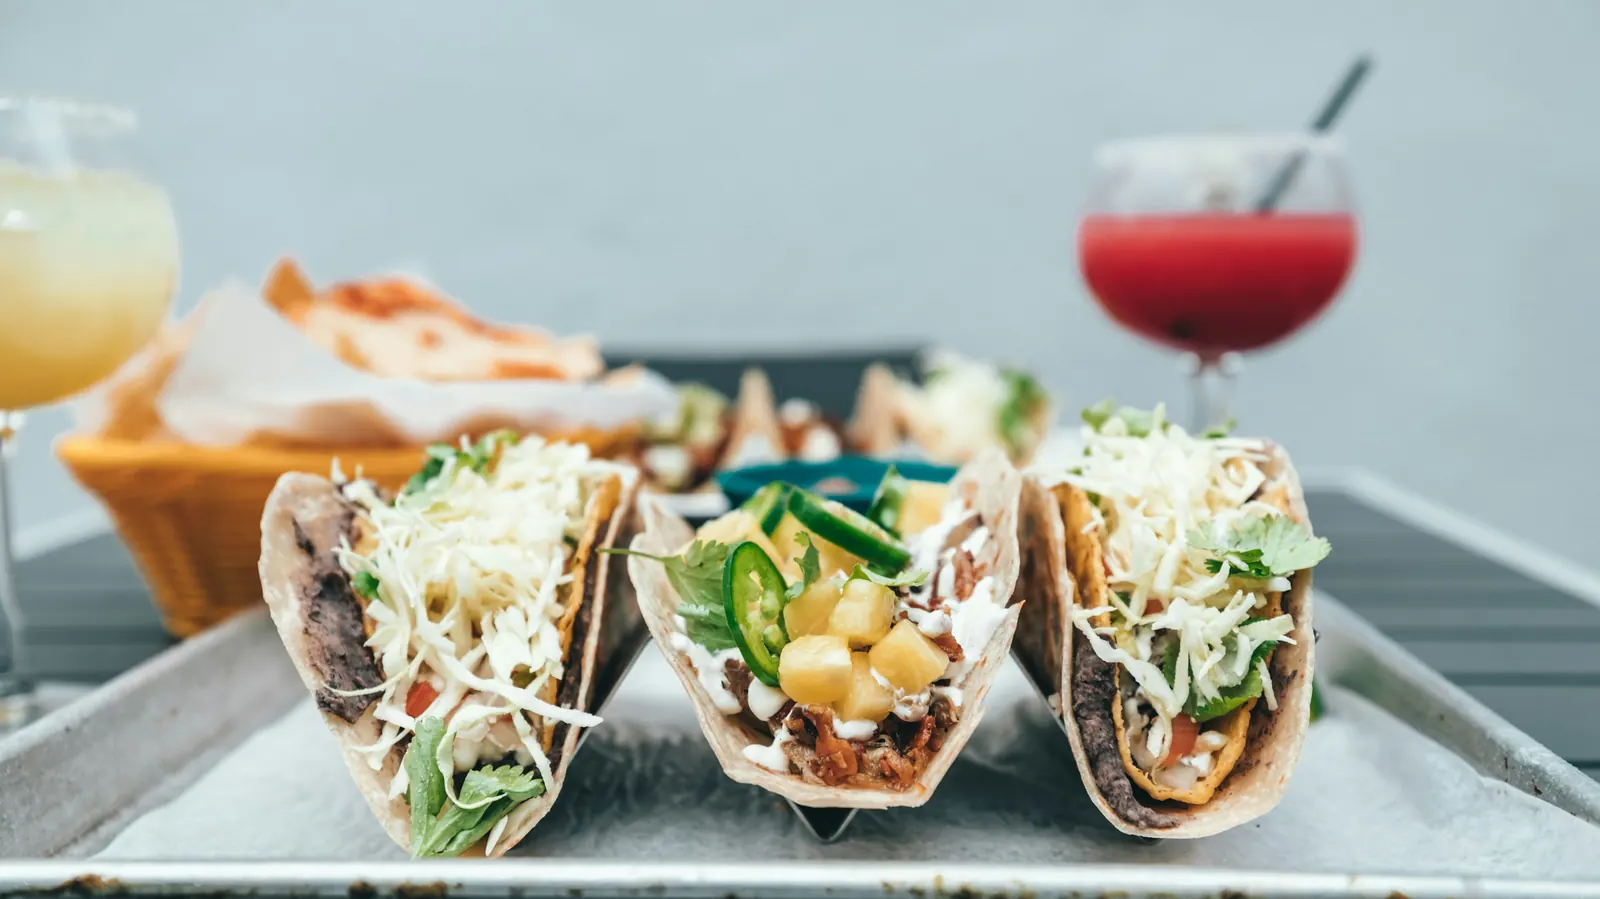
A taco shell maker is a mold or rack that holds a tortilla in a U while it fries or bakes. It is a useful gadget, but crisp shells were being made long before anyone sold one. A small heavy pan of oil and a pair of tongs will do it, and so will the bars of the oven rack you already own.
This guide covers the taco shell maker alternatives that genuinely work: frying in a skillet with tongs and a thermometer, draping tortillas over an oven rack, and folding them over an upside-down muffin pan in an air fryer. For each method we explain how it works and what it asks of you, and name the tool worth buying from an identifiable maker if you do not already have one.
Julia’s earns a commission on purchases made through links on this page, at no cost to you. Recommendations are based on what a restaurant kitchen looks for, product specifications and verified buyer reports.
Why skip a dedicated shell mold?
- Another single-purpose tool. A frying mold or shell rack does one job and takes a drawer. A skillet, tongs and a muffin pan earn their keep every week.
- One shell at a time. Most frying molds hold a single tortilla. An oven rack holds as many as fit across it.
- Not wanting a pot of oil. Baking on an oven rack or in an air fryer makes a crisp shell with little or no frying oil.
- Taco night is tonight. If you already own a skillet and tongs, you can make shells tonight without buying anything.
The trade-off is attention. A mold holds the shape for you; with tongs you hold it yourself, and on an oven rack the shape is set by gravity, so the shells are less uniform.
Quick verdict: the best taco shell maker alternative
For the best-tasting shells, fry them: a small, heavy 8-inch cast iron skillet such as the Mercer Culinary, a pair of Winco 12-inch locking tongs to hold the tortilla open, and a Taylor deep fry thermometer to keep the oil between 350°F and 375°F, the range America’s Test Kitchen gives. If you would rather not fry, drape oiled tortillas over the bars of your oven rack at 350°F, which needs nothing new. For small batches with almost no oil, fold tortillas over an upside-down Chicago Metallic mini muffin pan in an air fryer, or bake them on the rack of a countertop oven such as the Breville Smart Oven Air Fryer.
Five tools for crisp shells at a glance
One tool per job, with the details each maker or listing states. All five are reviewed in full below.
| Tool | Method | Best for | Key detail | Buy on Amazon |
|---|---|---|---|---|

Mercer Culinary 8-inch Cast Iron SkilletBest overall
|
Shallow frying | Classic fried shells | 8-inch surface; induction to campfire | View on Amazon |

Winco 12-inch Heavy-Duty Locking TongsBest shaping tool
|
Holds the tortilla open | Frying and lifting shells | 0.9 mm stainless; locking clip | View on Amazon |

Taylor Classic Line Candy/Deep Fry ThermometerBest for safe frying
|
Watches the oil | Holding 350°F to 375°F | Reads 100°F to 400°F; pan clip | View on Amazon |
Chicago Metallic 24-Cup Mini Muffin PanBest low-oil method
|
Upside-down shaping form | Air fryer shells | 22-gauge aluminized steel | View on Amazon |

Breville Smart Oven Air FryerBest countertop oven
|
Rack draping or air fry | Baked shells without the big oven | 13.5 x 11.5 x 5.5 in interior | View on Amazon |
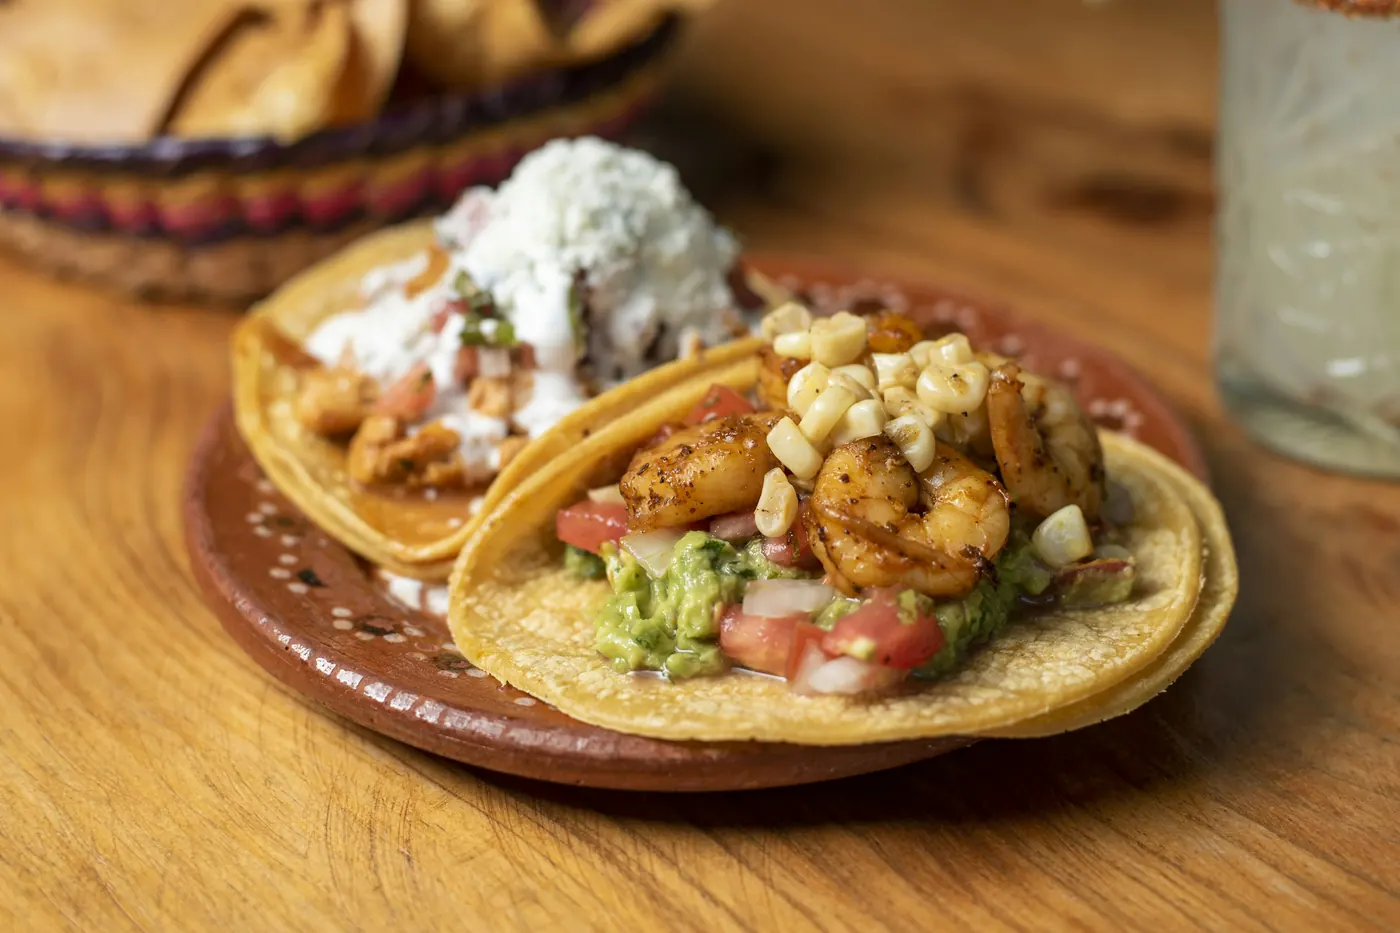
Three ways to make crisp shells without a taco shell maker
1. Fry them in a small skillet, holding the shape with tongs
This is the method America’s Test Kitchen uses in its home-fried taco shell recipe, from Cook’s Illustrated. It calls for an 8-inch heavy-bottomed skillet with three-quarters of a cup of vegetable, corn or canola oil heated to 350°F and kept between 350°F and 375°F. You hold a tortilla with tongs, slip half of it into the oil and keep that half under with a metal spatula for about 30 seconds until it sets. Then you flip it, hold it open about 2 inches with the bottom in the oil so it forms the taco shape, and fry until golden, about a minute and a half, before giving the other side about 30 seconds. Each shell drains upside down on a paper-towel-lined baking sheet. ATK puts the total at roughly two and a half minutes a shell, and says they can be made ahead and rewarmed in a 200°F oven for about 10 minutes.
The result is the crunchiest, most flavorful shell of the three methods. The cost is time at the stove, one shell at a time, and a pan of hot oil that needs your full attention.
2. Drape tortillas over the oven rack
Tasting Table describes the simplest method of all: heat the oven to 350°F and drape tortillas over two adjacent bars of the oven rack. After about ten minutes, it says, you have a crisp shell “complete with a flat bottom that lets you pile in fillings and set the taco down between bites.” It works with corn or flour tortillas and needs no equipment you do not already own. Warm corn tortillas first so they bend without cracking, and set a sheet pan on the rack below to catch any crumbs or oil.
3. Fold them over an upside-down muffin pan in the air fryer
A second Tasting Table piece turns a mini muffin pan upside down, folds tortillas into the gaps between the raised cups and air fries them at 400°F. Within about three minutes, it says, the tortillas should be browned and crisp, and a minute or two more without the pan crisps them further. Brushing the cups with oil first is optional. The pan has to fit your air fryer, which makes this a small-batch method.
Our picks for a taco shell maker alternative
Each pick does a different job in one of the three methods. Specifications come from each maker’s Amazon listing unless another source is named.
1. Mercer Culinary 8-inch Cast Iron Skillet – The Right Size for Frying Shells
America’s Test Kitchen’s recipe specifies an 8-inch heavy-bottomed skillet, and the size matters. A 6-inch corn tortilla folded in half fits with room for tongs and a spatula, and a small pan needs only about three-quarters of a cup of oil for shallow frying. A heavy pan also holds its temperature when each cool tortilla goes in, which keeps the oil inside the 350°F to 375°F range ATK gives.
Mercer Culinary sells this skillet with an 8-inch cooking surface, pre-seasoned with vegetable oil. The listing rates it for the oven, stovetop, induction, grill and campfire, and it has a hanging hole in the handle. Care is the usual cast iron routine, per the listing: wash by hand with mild soap or none, dry thoroughly, and rub with a light layer of vegetable oil while it is still warm.
After frying, let the oil cool fully in the pan before you strain or discard it. Between taco nights the same skillet fries eggs, toasts chiles and warms tortillas.
Why we like it
- 8-inch size matches ATK’s taco shell recipe
- Cast iron holds oil temperature steadily
- Rated for induction, oven, grill and campfire
- Pre-seasoned with vegetable oil
Key specifications
| Model | M46001 |
|---|---|
| Type | Skillet |
| Method | Shallow frying |
| Size | 8-inch cooking surface |
| Material | Cast iron, vegetable-oil seasoning |
| Heat limit | Oven, stove, induction, grill, campfire |
| Cleaning | Hand wash, dry, oil lightly |
| Warranty | Not stated |
Why we recommend it
It suits anyone who wants real fried shells at home and a small skillet that will be useful every other day of the week.
Skip it if you want to avoid a pan of hot oil altogether; the oven-rack method needs no oil at all.
Pros and cons
Pros
- Best flavor and crunch
- Small oil quantity
- Works on any stove
Cons
- One shell at a time
- Needs constant attention
- Needs hand washing and oiling
2. Winco 12-inch Heavy-Duty Locking Tongs – Your Hands Stay Clear of the Oil
In the frying method, the tongs are the taco shell maker. They hold the tortilla as it goes in, flip it, and hold it open about 2 inches while the bottom crisps, which is how ATK forms the shape. That calls for tongs that are long, stiff and all metal.
Winco makes these 12-inch utility tongs for restaurant and catering kitchens from 0.9 mm stainless steel, according to the listing, with scalloped edges that grip without tearing and a locking clip that keeps them closed in the drawer. Twelve inches keeps your hand well back from the pan, and there are no plastic or silicone tips to soften near hot oil.
Use them with a metal spatula in the other hand, as the ATK recipe does, to keep the tortilla submerged while it sets. They are equally handy for lifting shells off an oven rack, turning meat and serving.
Why we like it
- 12-inch length keeps hands away from the oil
- All stainless steel, 0.9 mm thick
- Scalloped edges grip a soft tortilla
- Locking clip for compact storage
Key specifications
| Model | UTLK-12 |
|---|---|
| Type | Utility tongs |
| Method | Holds and shapes the tortilla while frying |
| Size | 12 inches |
| Material | Stainless steel, 0.9 mm |
| Heat limit | Not stated; all-metal construction |
| Cleaning | Not stated on listing |
| Warranty | Not stated |
Why we recommend it
It suits anyone frying shells, and anyone who does not yet own a pair of long, plain-metal tongs, which most kitchens use daily.
Skip it if your tongs are already long and all metal; the method needs nothing more.
Pros and cons
Pros
- Restaurant-weight steel
- Long reach
- Useful for every kind of cooking
Cons
- Metal tips can scratch nonstick pans
- Shell shape depends on your hand
3. Taylor Classic Line Candy/Deep Fry Thermometer – Keeps the Oil in Range
A taco shell maker does not tell you the oil temperature, and neither does a skillet. ATK’s recipe depends on holding the oil between 350°F and 375°F, adjusting the burner as you go: the burner needs adjusting as you go, and the U.S. Fire Administration advises turning the burner off if the oil starts to smoke.
Taylor’s Classic Line thermometer is a simple analog tool that clips to the side of the pan. The listing says it reads from 100°F to 400°F, which covers the frying range with room to spare, and the adjustable clip holds it steady in a small skillet. The protective sleeve doubles as a candy-temperature reference, and Taylor backs it with a lifetime warranty, per the listing.
ATK also gives a backup check: a test piece of tortilla dropped into the oil should bubble and rise within about 2 seconds. Use both, and keep the thermometer’s bulb in the oil, not touching the bottom of the pan.
Why we like it
- Reads 100°F to 400°F, per the listing
- Adjustable clip attaches to the pan
- No batteries to fail
- Lifetime warranty, per the listing
Key specifications
| Model | 5978N |
|---|---|
| Type | Analog candy and deep fry thermometer |
| Method | Monitors frying oil |
| Size | 8 inches long |
| Material | Spirit-filled analog; pan clip |
| Heat limit | Reads 100°F to 400°F |
| Cleaning | Not stated on listing |
| Warranty | Lifetime |
Why we recommend it
It suits anyone frying at home who does not already own a frying thermometer, and it makes holding ATK’s frying range much easier.
Skip it if you only bake your shells, or already own a digital probe thermometer that reads to 400°F.
Pros and cons
Pros
- Simple and battery-free
- Clips on, hands free
- Lifetime warranty
Cons
- Slower to read than a digital probe
- Tops out at 400°F
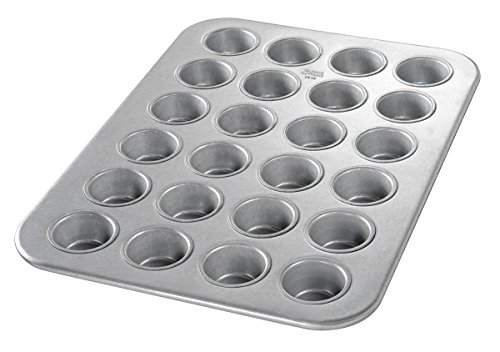
4. Chicago Metallic 24-Cup Mini Muffin Pan – A Shell Form You Already Bake With
Turned upside down, a mini muffin pan becomes a row of shell forms. In Tasting Table’s air fryer method, tortillas are folded into the gaps between the raised cups and air fried at 400°F for about three minutes, with optional oil on the cups. The pan holds the tortilla in a U while it crisps, which is exactly the job of a taco shell rack.
Chicago Metallic’s model 45245 is a commercial-style pan: 22-gauge aluminized steel with an AMERICOAT Plus silicone glaze and a wire-reinforced rim, in four rows of six cups, according to the listing. A sturdy pan matters here because it sits upside down under heat with no batter to steady it.
The catch is size. This is a full 24-cup pan, and the listing does not give its outside dimensions, so measure your air fryer or countertop oven before you buy; a basket air fryer will need a smaller pan. Between taco nights it is a mini muffin pan.
Why we like it
- Heavy 22-gauge aluminized steel
- Wire in the rim resists warping
- Silicone glaze for release
- Useful for baking the rest of the year
Key specifications
| Model | 45245 |
|---|---|
| Type | Mini muffin pan, used upside down |
| Method | Air fryer shaping form |
| Size | 24 cups, 4 rows of 6; outside size not stated |
| Material | 22-gauge aluminized steel, AMERICOAT Plus glaze |
| Heat limit | Not stated |
| Cleaning | Not stated on listing |
| Warranty | Not stated |
Why we recommend it
It suits cooks with a large air fryer oven who want a few crisp shells with little oil, and who bake often enough to use the pan for its real job too.
Skip it if you own a compact basket air fryer; this pan is too large for most of them, and the oven-rack method needs no pan at all.
Pros and cons
Pros
- Little or no oil
- Fast, about three minutes per batch
- Doubles as bakeware
Cons
- Must fit your air fryer
- Small batches
- Sold by a restaurant-supply dealer, not Amazon
5. Breville Smart Oven Air Fryer – Rack Draping Without Heating the Big Oven
The oven-rack method works in any oven with a wire rack, and a countertop oven saves heating a full-size one for a few shells. Breville’s Smart Oven Air Fryer has a 13.5 by 11.5 by 5.5-inch interior, a dedicated air fry setting and 11 cooking functions, according to the listing, with a wire rack, an air fry basket, a roasting pan and a 13-inch pizza pan included.
That gives you both baking methods in one appliance. Drape tortillas over the bars of the wire rack and bake at 350°F as Tasting Table describes, or use the air fry setting with a pan that fits; the listing says the interior takes a 9-cup muffin tray. Breville’s Element iQ system uses five quartz elements and digital PID temperature control, which the listing says eliminates cold spots.
The limits are height and price. With 5.5 inches inside, place the rack where the hanging sides of the tortilla clear the pan below. It is a major appliance to buy for taco shells alone, so it makes sense mainly if you also want a toaster oven and air fryer. The listing states a 1-year limited warranty in one place and a 2-year limited warranty in another, so confirm with Breville. This is the same model sold in other colors; we chose the Noir listing because it was in stock and sold by Amazon.
Why we like it
- Wire rack for the draping method
- Dedicated air fry setting
- Interior fits a 9-cup muffin tray, per the listing
- Five quartz elements with PID control
Key specifications
| Model | BOV860NRE1BNA1 |
|---|---|
| Type | Countertop convection oven and air fryer |
| Method | Rack draping or air frying |
| Size | Interior 13.5 x 11.5 x 5.5 in; 0.8 cu ft |
| Material | Not stated; wire rack, air fry basket and pans included |
| Heat limit | Not stated on listing; 1800 W |
| Cleaning | Not stated on listing |
| Warranty | Listing states both 1-year and 2-year limited |
Why we recommend it
It suits households that want a capable countertop oven anyway and like the idea of baked taco shells without heating the kitchen.
Skip it if you are buying only for taco shells; your existing oven rack does the same job.
Pros and cons
Pros
- Both baking methods in one appliance
- No pot of oil
- Useful for much more than tacos
Cons
- Large and costly for this job alone
- Limited interior height
- Warranty wording inconsistent on listing
Frying safely at home
Shallow-frying shells uses less oil than a deep fryer, but it is still hot oil. The U.S. Fire Administration’s cooking advice applies directly:
- “Stand by your pan. If you leave the kitchen, turn the burner off.”
- “If you see any smoke or the grease starts to boil, turn the burner off.”
- “Keep a pan lid or baking sheet nearby. Use it to cover the pan if it catches on fire.”
A thermometer clipped to the pan shows you when the oil is climbing past 375°F, so you can lower the heat before it smokes.
How we chose these tools
We started from the methods published by sources we could read directly: America’s Test Kitchen’s home-fried taco shell recipe for frying, and Tasting Table’s oven-rack and air-fryer pieces for baking. We then chose one tool per job in those methods, from identifiable makers, each in stock and sold new on Amazon when we checked, and none repeated from our taco shell maker guide. Specifications come from the makers’ Amazon listings. Fire safety advice is from the U.S. Fire Administration. We have not cooked with these products ourselves; results described here are the sources’ findings, and each is named.
Taco shell maker alternative questions, answered
How do you make crispy taco shells without a taco shell maker?
Fry corn tortillas in an 8-inch skillet with about three-quarters of a cup of oil at 350°F to 375°F, holding each one open with tongs, as America’s Test Kitchen does. Or drape them over two bars of the oven rack at 350°F for about ten minutes.
Can you make taco shells in the oven without a rack mold?
Yes. Your oven’s own wire rack is the mold: drape tortillas over two adjacent bars. Tasting Table says the result has a flat bottom that stands up on the plate.
How do you make taco shells in an air fryer?
Tasting Table folds tortillas between the cups of an upside-down mini muffin pan and air fries them at 400°F for about three minutes. The pan must fit inside your air fryer.
Are fried or baked shells better?
Fried shells have more flavor and crunch. Baked shells use little or no oil and are easier to make in batches, but they are drier and more cracker-like.
What oil is best for frying taco shells?
America’s Test Kitchen’s recipe calls for vegetable, corn or canola oil. Keep it between 350°F and 375°F.
Our final word on crisp shells without the gadget
You do not need a taco shell maker. For the best shells, fry them in a small heavy skillet like the Mercer with long metal tongs and a thermometer clipped to the pan. For the easiest, drape tortillas over your oven rack. If you would still like a dedicated mold or rack, our guide to the best taco shell maker covers them, the best taco holders keep finished shells upright for filling, and our taco bar supplies guide covers the rest of the spread. For the tortillas themselves, see corn vs flour tortillas.
And if you would rather someone else made the tacos tonight, see our menu or call to order.